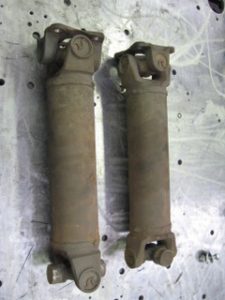
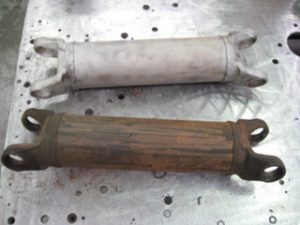
Yeah, they are rusty, they are worn…
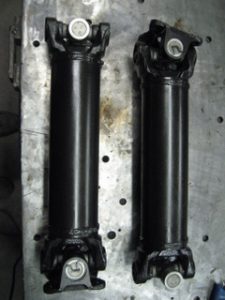
Well all in all it isn’t that bad but they will look like new when I’m finished!
This Is what the looked like when I brought them to the machineshop at my work.
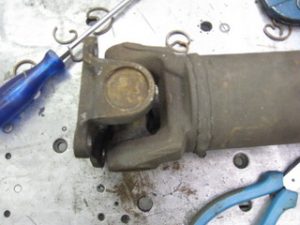
The wheel side is shown here but will soon be dismantled

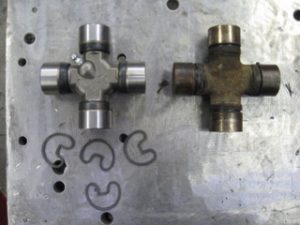
First get rid of the retaining clip on both sides.
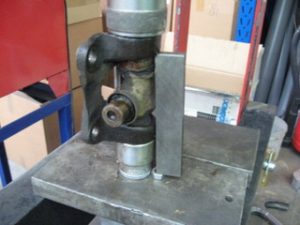
Then I hould be able to loosen the universal joint with a large sprocket and a small sprocket. But there was no movement alt all. I’m not doubting my muscle power of course but gentle hydraulic power is a bit stronger….
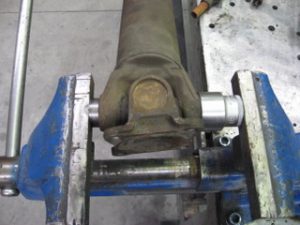
After loosening the driveshaft this way, the joint is loosened on the wheel adapter. I’ve put a metal strip as a support to prevent bending. If the adapter bends, you’ll never get the joint out and there is a big risk of breaking it, So be carefull with hydraulics!
After removing all joints the 33 year dirt can be scraped off and then the shaft can be sandblasted.
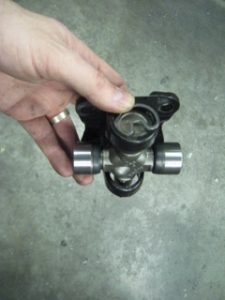
What’s the new joint??? Tip: The new one has a grease nipple. Maybe when I’m retired after 31 years the don’t need replacement anymore!!
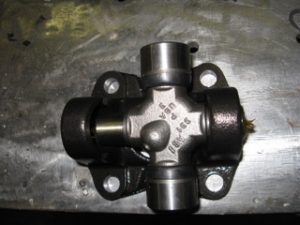
First take off the bearing cap and place the joint. Then press on one side the bearing cap.
This whas the first atempt.
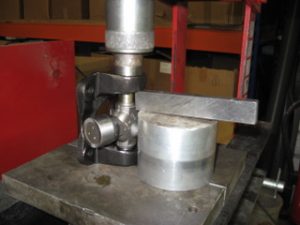
Afther machining a metal trip, this one worked better. The goal is to keep the sleeve parallel with the bearing cap.

If one side is done then the retaing clip is applied. Then the other bearing cap is pressed in and secured with the retaining clip.
After sandblasting I’ve applied a equal coat of hammerite (spray) onto the driveshaft to prevent imbalance. And here is the result! This is wat makes a man very happy!!