
Leafspring replacement
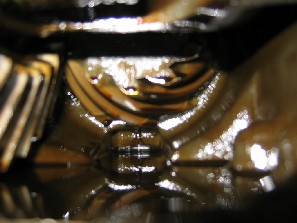
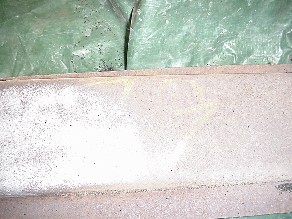
The original leafspring on our car went Droopey! Not surprising after 31 yeas of work!!
I imagine how I would look like after 31 years of work with 330 lbs on my back!
As you can see, I found out that hitting the ground was easy. (look at the spare tire lid)
By adjusting the screws I tried to lift the car again but the tension in the spring was reduced a lot.
Due to lack of money after buying our vette we decided to replace the steel 9 leafs spring with an exact replacement.
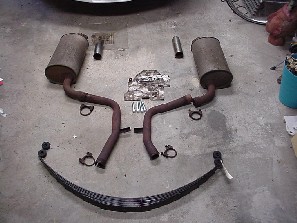
To do the job I was weaponed with 2 manuals: Chilton & Haynes repair manual. The first Job was to remove the rear mufflers.
Now I had the chance to paint them with heat resistant paint. (always looks better for as long as it lasts).
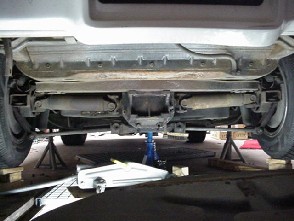
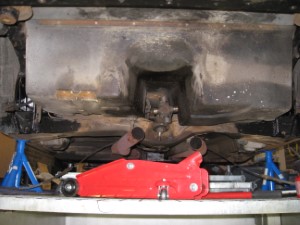
The next job was to put the rearside of the car on jackstands and to loosen the leafspring bolts which were attached to the trailing arms.

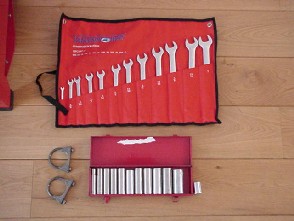
Quickly the bolts were rounded off with a lot of ‘craftmanship’. After this point I decided to buy a set of inch wrenches instead of metric wrenches.
This will make life easier. These set are bought in a American dumpshop nearby. You can get lost there by the way.
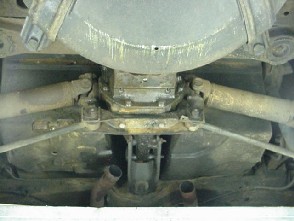
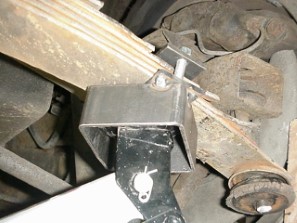
To hold the leafspring upwards in a safe way I welded a clamp where the upperpart of the hydraulic jack would fit in. The picture tells more than I can explain in english.
There is a huge energy stored in the spring. The spring is pusing the differential upwards, by pushing down on the bolts. Snapping these bolts will release the kinetic energy and can cause dangerous situations.
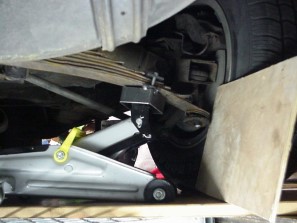
I couldn’t loosen the bolts, even after soaking it a couple of days in WD-40 . The only thing left was to take the angle grinder and cut the bolt and not the tires. The wooden plate was there to protect the tire.
Hurdle #1 was taken. Hurdle #2 was next.
After taking off the leafspring with my new wrenches 🙂 I decided to see if there is any oil in the differential.
After removing the plug on the side of the differential I put in my finger as a dipstick. I was lucky and unlucky. Lucky to have no oil on my finger, unlucky to have toooooo less oil in my diff.
This made me decide to take off the lid to see the condition of the differential.
This was hurdle #2 sigh.
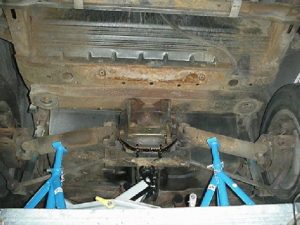
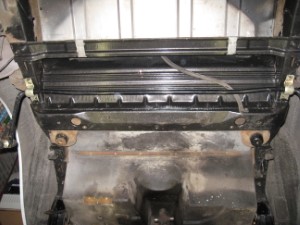
Crossbeam removal and differentiual inspection
The differentilal is mounted on the crossmember. The diff lid has 3 functions. Hold the diff onto the corssmember. Function as a lid (Duh).
And hold the leafspring and transfer the bouncing forces to the rest of the chassis. And I see a fourth function. To prevent the differential from rotating when you hit the throttle.
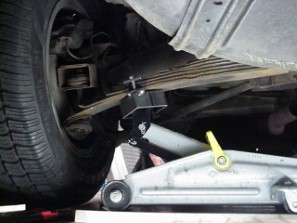
Anyway the lid is mounted to the crossmember and these 4 bolts can only be accessed from the top of the crossmember. After trying for several days and not succeeding I decided to take down the comple crossmember with the differential stilll attached.
The first step was to release the crossmember bolts and the bolt of the front support of the differential.
To retract the crossmember I used a puller. This worked out very well. I loosened the bolt bit by bit, to have someting to push against.

Due to the angle of the drive axles it was impossible to lower the complete assembly. Therefore I’ve jacked up each wheel and put a wooden block below it.
By this way the drive axles were alligned horizontally and now I was able to lower the differential by lowering the hydaulic jack
Hurdle #2 was taken and now it was time to remove the debris on the outside of the diff and to take away the lid.

What I saw made me happy and even the comments on the Heartbeatforum were positive about the gear condition..
See for yourself:
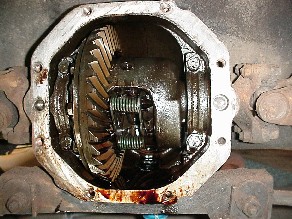
The ends of the yokes aren’t damaged and the C-clips are still on. The clips can pop off now and then and then they are ground to C-clip beef.
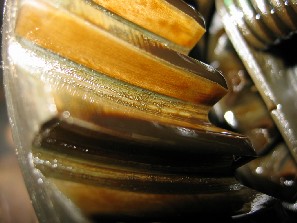
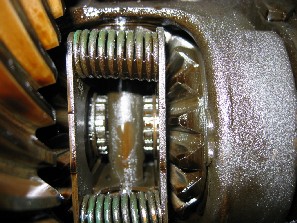 The gears aren’t worn and there was even still green paint on the positraction clutchplate springs.
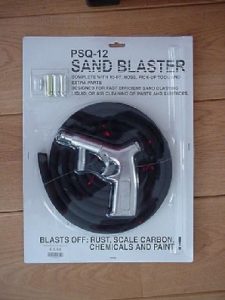
The next thing was to paint the differential lid and the crossmember. I bought a new small compressor and a sandblasting gun.
When sandblasting in my garage (DON’T DO THAT EVER AGAIN!!!!) the sand was getting everywhere.
First the crossmember was blasted and the number 79 appeared in yellow.
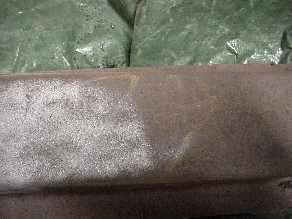
Both pictures aren’t clear but maybe you’ll see it.
Does this mean that the Crossmember is coming from a scrapheap?? A ’77/79 corvette instead of a ’75 vette?
The next blasting victim was the differential lid . The compressor died when I was half way. Hmmm. Maybe I had to break in the compressor a bit more carefully.
After returning the compressor and receiving a new one 🙂 I decided to be very carefull with the compressor and use the sandblasting cabine at work.
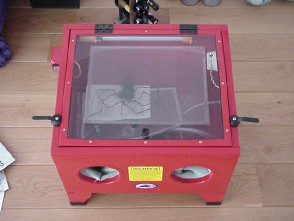
Our 7,5 Kw compressor survived this escapade of course.
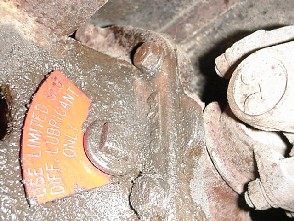
After painting the crossmember and the differental lid (carrier) with hammerite, it was time to put the lid on in reverse order. A fresh seal applied and new positraction additive and the gear oil. Make sure that you put in the positraction fluid into the differential first!.
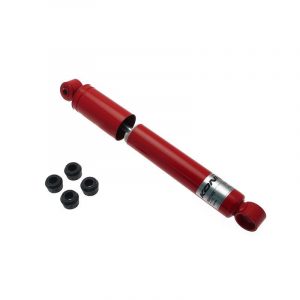
While doing the leafspring replacement, it was time to replace the shock absorbers as well. The choice was to use Koni Classic, which could be adjusted in behavior.
The bolts were replaced by 10.2 grade bolts and they were a bit longer, so the car could go lower at the rear. A hole was drilled at the end to place the cotter pin again.
The result of the longer bolts, was a shredded tire. You know, when guys are young they want to create nice donuts with cars. So did my brother in law and myself. We hit a small ledge of 1/2″dideways, enough to push the tire sideways, to be eaten by the leafspring….
During the first period of driving the differential made strange klunking noises, going around the corner.
After posting on the Heartbeatforum I got some help during a meeting at Fame Valkenburg. A nice guy Berend advised me to take the car for a drive together and find a place to drive circles. This way the positractiuon clutches are doing their work and are ‘breaking in’ again with the fresh oil and positraction fluid. This solved the problem.