
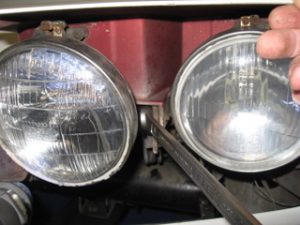
The problem with our headlight is that we had a lazy eye! The vacuum to operate the vacuum actuators is taken of the manifold vacuum. Cylinder eight to be presice. If there is leackage the fuel/air mixture is too lean and the combustion is ineficient compared to the rest of the engine. This will cause a shaky engIne at low rpm.
And for the seek of more torque, we don’t want that. (It probably doesn’t matter but in front of the trafficlight the shake is getting irritating)
I’ve found a good trouble shooting guide in the Internet, which you can see here: Vacuum-Troubleshooting

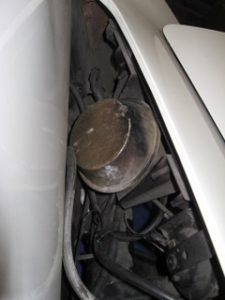
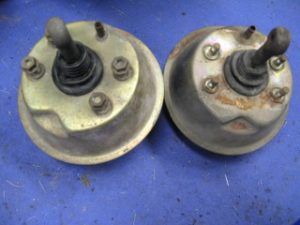
Here’s the vacuum actuator which needs to be checked.
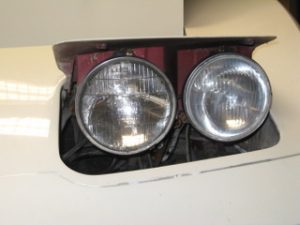
First ‘undress’ the headlight by removing ‘her’ eyelashes. Looks a bit silly now!
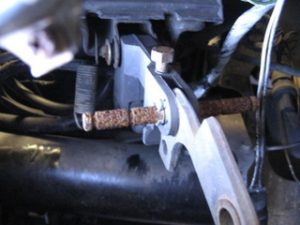
I would be rusty as well after 33 years If I was a piece of metal. Even the springs are rusted. Time for some good care and attention.
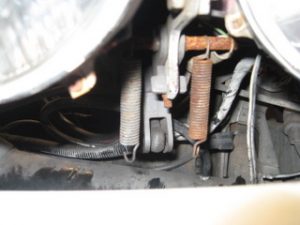
First remove the springs. The pictures are allways handy when it needs to be reasembled.
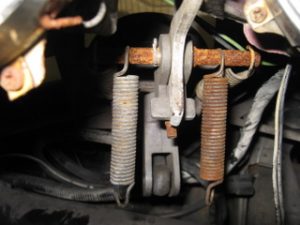
Then remove the bolt which connects the opening mechanism to the door.
Who told you there’s rust on a corvette!!!
A Corvette is NICE!, but sometimes I’m amazed by the massive amount of heavy metal. This thick heavy strip is used to limit the opening postion. This one of the first candidates to convert into carbon Fibre!! Not that it helps much but it will be fun to produce.
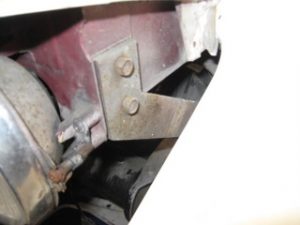
After removing the bolts on one side of the door hinge, the door itself could be taken out.
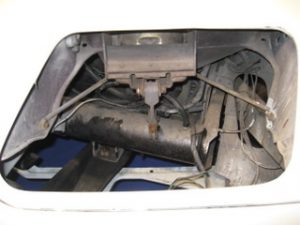
This component was broken. It’s casted aluminium (weight saving?) and one flange was broken. I’ve thougth of repairing it, but with the low dollar rate, I decided to buy a new one

These are the vacuum actuators as they come off the car
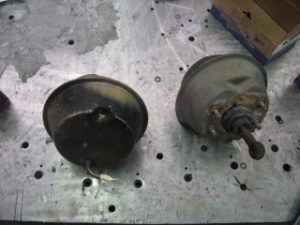
One stage further: Sandblasted and ready for painting. All inlets were taped off to prevent sand entering the actuator and ultimately, entering cylinder 8 where the vacuum is connected. The left one only is sanded to show the difference.
To be continued…